
Radon Testing
About This Project
This project outlines the process of conducting a DIY radon test in your home to assess indoor air quality. It covers obtaining a test kit, proper placement of the device, allowing sufficient testing time, and interpreting the results.
Tools & Materials
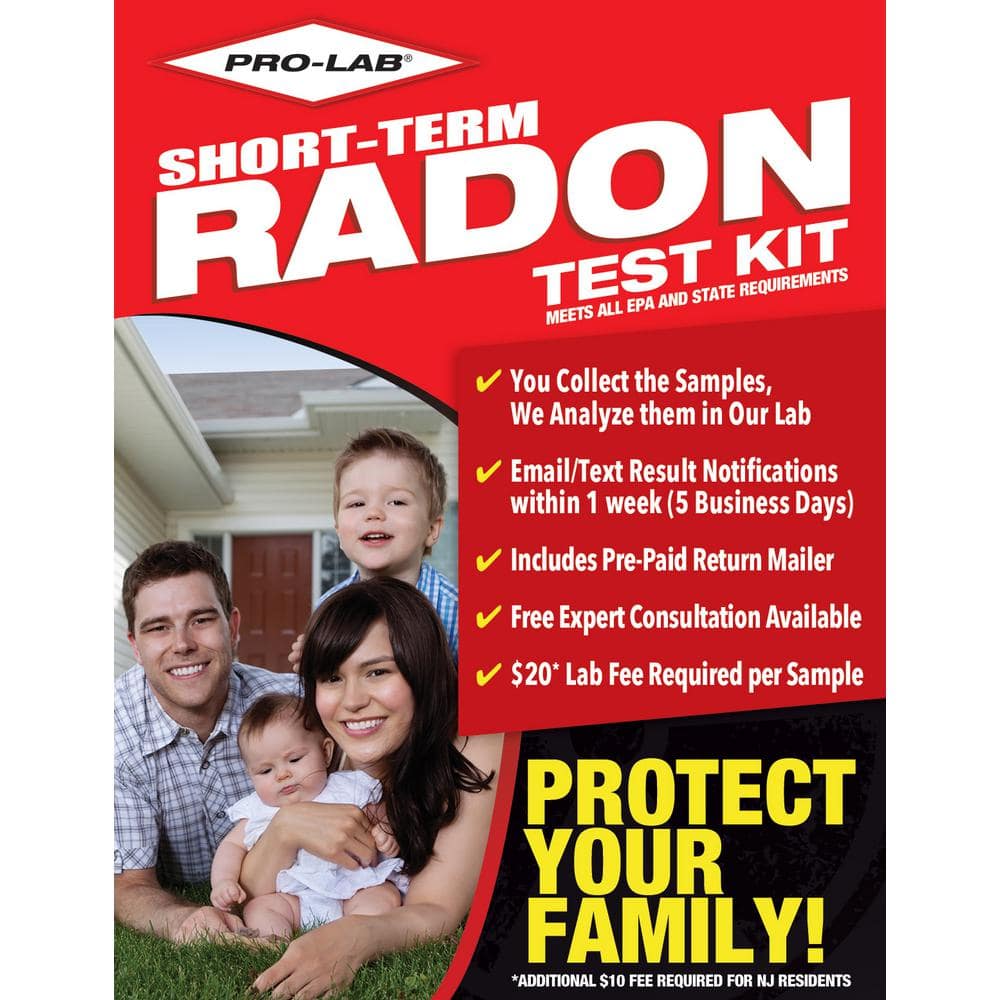
PRO-LAB Radon Gas Test Kit RA100
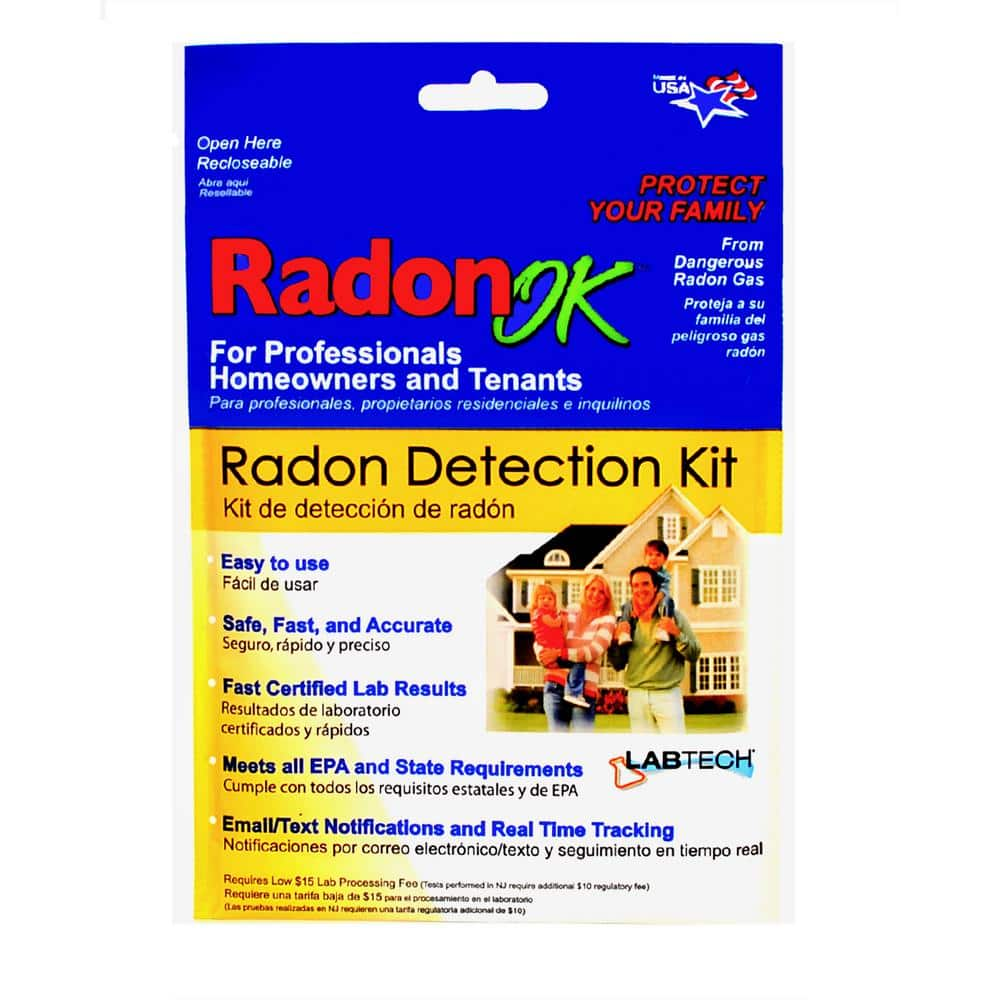
LABTECH Radon Detection Test Kit LT5110
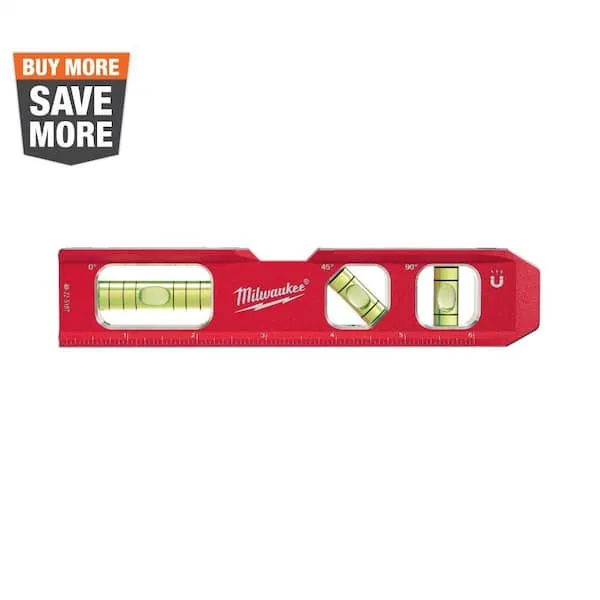
Level
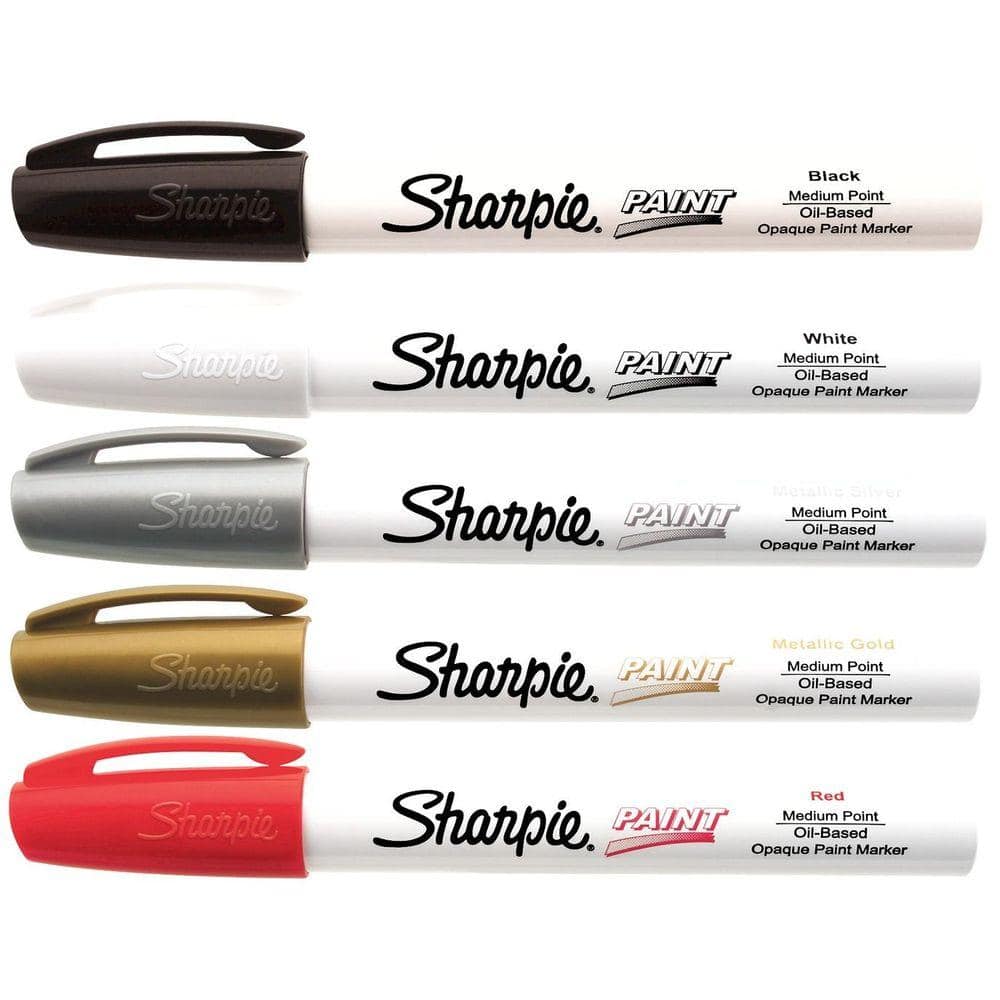
Sharpie Basic Colors Medium Point Oil-Based Paint Marker (5-Pack) 1770458
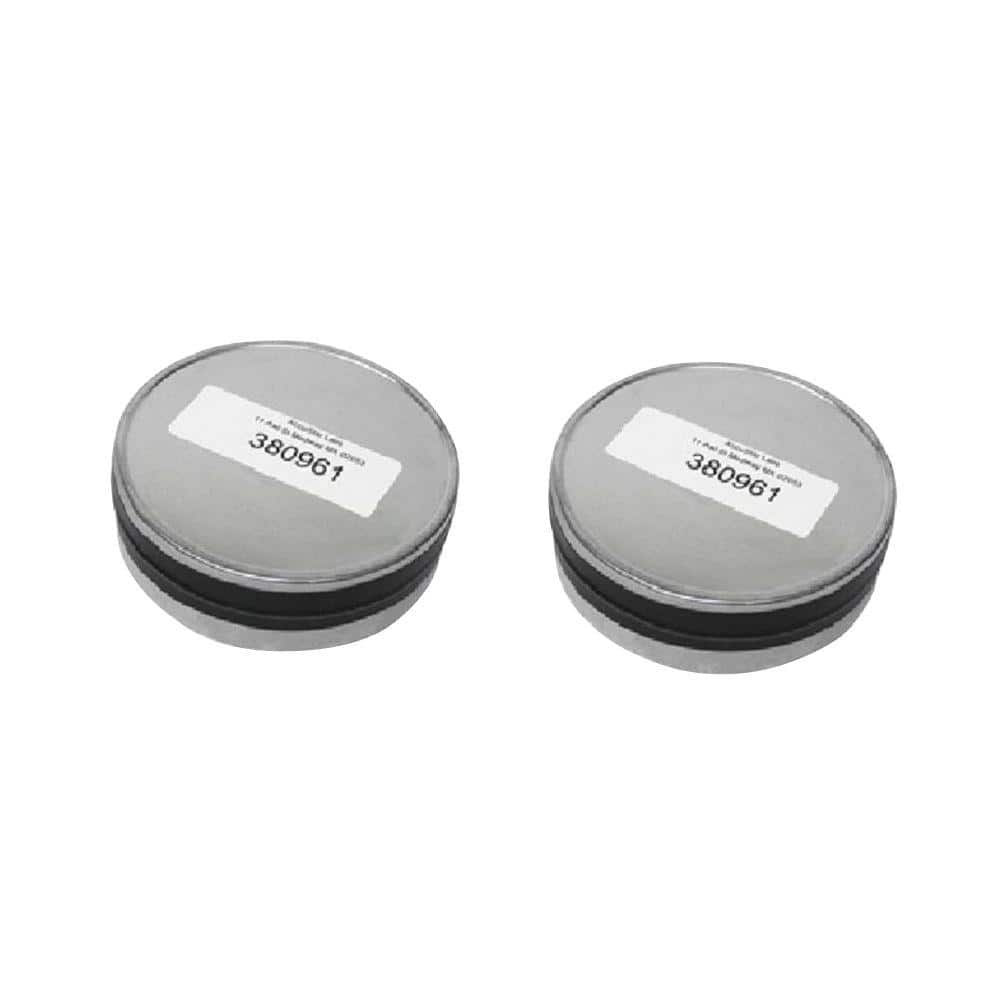
AccuStar Short Term Activated Carbon Radon Test Kit - Open Face Charcoal Canisters Radon Short Term Test Kit for Radon in A
National Multi Purpose Seal 710315
PRO-LAB Radon Gas Test Kit RA100
Radon Gas is the #1 cause of lung cancer to non-smokers and has been found in every state in the US. PRO-LAB radon gas test kit makes it easy to test for odorless, colorless radioactive radon gas in your
LABTECH Radon Detection Test Kit LT5110
LABTECH Radon Ok Radon Detection Kit offers a proven short-term method that provides professionals and residents with a quick assessment of a dwellings mode level. This kit is 3-easy do it yourself steps.
Level
Ensures surfaces are just right.
Sharpie Basic Colors Medium Point Oil-Based Paint Marker (5-Pack) 1770458
Oil-Based Paint Markers from Sharpie are permanent, valve-action paint markers. Practically any surface-including metal, pottery, wood, rubber, glass, plastic and stone can be marked upon. The quick drying
AccuStar Short Term Activated Carbon Radon Test Kit - Open Face Charcoal Canisters Radon Short Term Test Kit for Radon in A
Radon in air test kits include two radon sampling test canisters, instructions for use, data sheet for notation of exposure information, a pre-paid return mailer and a pre-paid report of laboratory analysis.
National Multi Purpose Seal 710315
National has built a reputation as one of the most respected names in the industry. We have offered premium sealing solutions for more than 75 years. Our design team keeps pace with the industry and provides
Steps

Select Test Location
10 minutesSelect a location on the lowest floor of your home that is regularly occupied. Avoid areas like bathrooms, kitchens, or laundry rooms, as humidity and ventilation can affect readings. The best location is typically a living area or bedroom.
Watch: Select Test Zone and Surface Height
Prepare Test Device
5 minutesUnpack the radon test kit and carefully read the manufacturer's instructions. This may involve removing a seal, activating a sensor, or setting up a digital device. Ensure you understand the specific deployment steps for your chosen kit.
Watch: Prepare and Deploy the Test KitStart and Document Test
5 minutesNote the exact date and time you begin the test. Fill out any required information on the test kit packaging or accompanying log sheet, including the test location within your home. This information is crucial for accurate interpretation of the results.
Watch: Prepare and Deploy the Test Kit
Maintain Closed House Conditions
During the testing period, ensure that windows and exterior doors remain closed as much as possible. The test requires a stable indoor environment. Minimal opening of doors for entry/exit is acceptable, but prolonged ventilation should be avoided.
Watch: Observe Closed House ConditionsAllow Sufficient Testing Time
The duration required for an accurate radon test varies by kit type. Short-term tests usually range from 2 to 7 days, while long-term tests can take 90 days or more. Adhere strictly to the recommended testing time for your specific kit to ensure reliable results.
Watch: Monitor the Test
Retrieve and Seal Test Device
3 minutesOnce the specified testing time has elapsed, carefully retrieve the radon test device. If it's a charcoal canister or alpha-track detector, you will typically need to seal it in a provided bag or container immediately after removal to preserve the sample.
Watch: Complete Paperwork & Mail for Lab Analysis
Record End Time and Mail Test
10 minutesNote the exact date and time you retrieved and sealed the test device. Complete any final documentation required by the lab. Package the sealed test kit securely and mail it to the designated laboratory as soon as possible.
Watch: Ship Test Kits via Different CarriersInterpret Results
10 minutesOnce the laboratory analyzes your test kit, they will provide a report detailing the average radon concentration in your home, usually measured in picocuries per liter (pCi/L) or becquerels per cubic meter (Bq/m³). Compare these results to the EPA's recommended action level of 4 pCi/L.
Watch: Read Your ResultsCommon Problems
The radon test kit is placed in an inappropriate location, leading to inaccurate readings (e.g., near an open window, in a draft, next to a heat source, or in a room that isn't regularly used).
Solution: Carefully review the kit's instructions for proper placement guidelines. Move the kit to a central location in the lowest living area of the home, at least 20 inches off the floor, away from drafts, windows, doors, air vents, and direct sunlight. Ensure it's in a room that is used regularly.
Prevention: Before opening the kit, read all instructions thoroughly, paying close attention to the 'Select Test Location' step. Identify a suitable, undisturbed spot in advance that meets all criteria.
The activated charcoal or sensing element in the test kit is touched with bare hands or exposed to moisture/strong odors before or during the test, which can contaminate the sample and lead to inaccurate results.
Solution: If you suspect contamination, such as direct contact with the sensing elements or exposure to significant moisture, you may need to purchase a new kit and restart the test, as the current results will likely be compromised.
Prevention: Handle the test device carefully by its edges or casing. Avoid touching the charcoal or sensing elements. Keep the kit dry and away from humidity or strong chemical fumes before activation and during the test period. Open the sealed bag only when you are ready to start the test.
For short-term radon tests (typically 2-7 days), windows and doors are frequently opened, or exhaust fans are used excessively during the testing period. This can dilute radon levels and lead to artificially low, inaccurate readings.
Solution: Immediately cease opening windows and doors, and minimize the use of whole-house or window-mounted fans. If closed-house conditions cannot be maintained for the minimum required duration (e.g., 12-24 hours before and throughout the test), the test results will be invalid, and you will need to restart the test with a new kit.
Prevention: Inform all household members about the 'closed house conditions' requirement for the entire testing period. Place reminder notes on doors and windows. Plan the test during a period when you can reasonably keep windows and doors closed (e.g., cooler weather).
After retrieving the radon test kit, it's not mailed to the lab immediately. Activated charcoal kits are particularly sensitive to environmental changes after exposure and must be mailed within a short timeframe (often within 24-48 hours) to ensure accurate results.
Solution: Check the kit's instructions for the maximum mailing time. If you've missed the window, the lab may reject the sample or the results may be unreliable. You will likely need to purchase a new kit and repeat the test, ensuring it's mailed promptly after retrieval.
Prevention: Plan to retrieve and mail the kit on a weekday during post office hours. Prepare the mailing label and postage in advance. Schedule a reminder for mailing the kit as soon as the testing period is complete.
Critical information like the start date, start time, end date, end time, and test location is either missing or incorrectly filled out on the test kit's data sheet, or the wrong type of pen is used (e.g., non-oil-based).
Solution: If the kit hasn't been mailed yet, carefully review all required fields and complete them using the specified Sharpie oil-based marker. If it's already mailed and rejected by the lab due to incomplete or illegible information, you'll need to re-test with a new kit, paying close attention to documentation.
Prevention: Use the specified Sharpie oil-based markers for all documentation. Before starting the test, fill out all identifiable information on the kit. Immediately upon starting and ending the test, record the exact date and time clearly and accurately. Double-check all entries before sealing and mailing the kit.
A short-term test kit (e.g., 2-4 days) is left in place for too long (e.g., a week or more), causing the sensing material to become over-saturated or providing an inaccurate average due to environmental factors.
Solution: If the test period is significantly exceeded, the results may be compromised and unreliable. It's often best to consider the test invalid and start over with a new kit, adhering strictly to the recommended testing duration specified in the kit instructions.
Prevention: Clearly mark the start and end dates/times on your calendar or set reminders on your phone. Read the kit's instructions carefully to know the exact minimum and maximum testing durations. Ensure you retrieve the kit on time.
After receiving the lab results, the homeowner misunderstands the radon concentration units (e.g., pCi/L vs. Bq/m³) or the recommended action levels provided by health organizations like the EPA, leading to incorrect conclusions about their home's safety.
Solution: Refer to reliable sources like the EPA or your local health department's guidelines for interpreting radon levels. If your results are at or above the action level (e.g., 4.0 pCi/L in the US), it's recommended to conduct a follow-up test (preferably a long-term test) or consult with a qualified radon mitigation professional. Do not try to interpret based on incomplete information.
Prevention: Before receiving results, familiarize yourself with common radon units and recommended action levels in your region. The test kit often includes an explanation or a reference to official guidelines. If in doubt, contact a certified radon professional or your local health department for clarification.
Frequently Asked Questions
How long does a typical DIY radon test take, and what's the estimated cost?
A short-term DIY radon test typically takes 2-7 days to complete, as indicated by the project's estimated time. The cost for a single test kit can range from $15-$50, depending on the brand and type of kit purchased, not including postage for mailing it back to the lab.
What are "closed-house conditions" and why are they important for accurate radon testing?
Closed-house conditions mean keeping all windows and outside doors closed for at least 12 hours before and during the entire testing period, except for normal entry and exit. This is crucial because ventilation can dilute radon levels, leading to an artificially low and inaccurate reading of your home's average radon concentration.
Where is the best place to position the radon test device in my home?
Place the test device in the lowest lived-in level of your home, such as a basement or first-floor bedroom, away from drafts, direct sunlight, and high heat or humidity. Avoid placing it in bathrooms, kitchens, laundry rooms, or closets, and keep it at least 20 inches above the floor.
What should I do if I accidentally disturb the test kit or open windows during the testing period?
If you accidentally disturb the kit or open windows for an extended period, it's best to restart the test with a new kit to ensure accurate results. Maintaining consistent closed-house conditions is vital for a reliable radon reading, as disturbances can skew the outcome and compromise the validity of your test.
After mailing my radon test kit, how will I receive and interpret the results?
Most test kits come with instructions on how to access your results, usually online or by mail, within a few weeks of the lab receiving your kit. The results will typically be in picocuries per liter (pCi/L), and the EPA recommends taking action to mitigate if your home's radon level is 4 pCi/L or higher.
Do I need any special tools or materials beyond the test kit itself for this DIY project?
Besides the radon test kit, the main 'tools' you'll need are a permanent marker (like a Sharpie) to accurately fill out the kit's information and record start/end times. You may also need a level to ensure proper placement of some kit types, and appropriate postage to mail the kit back to the lab for analysis.